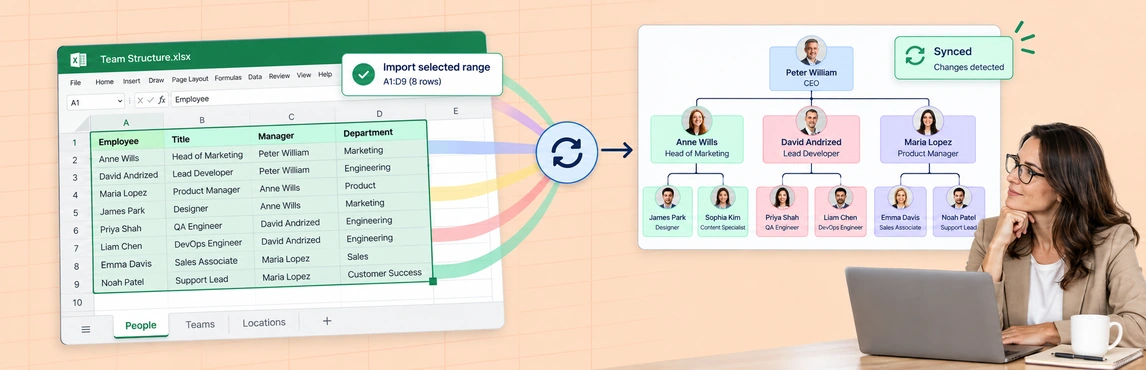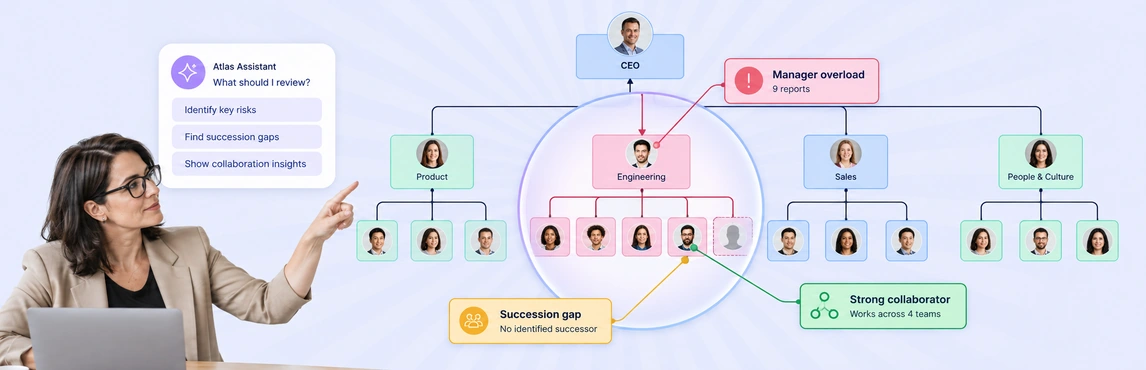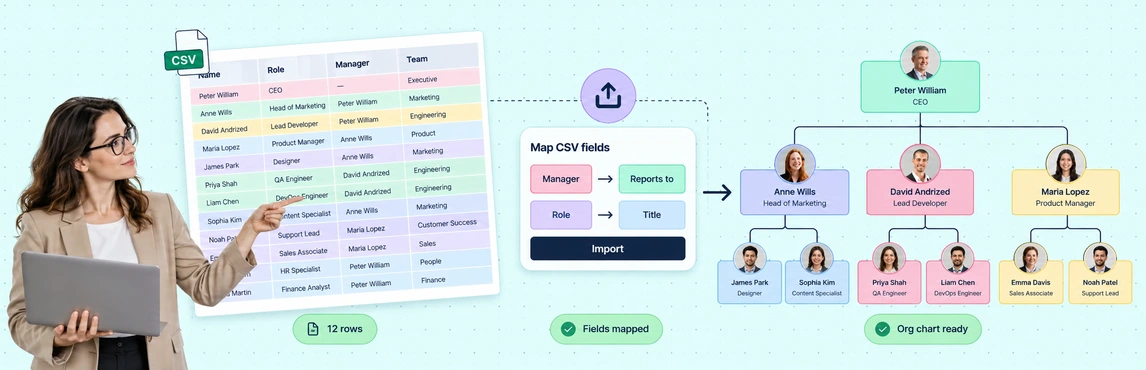
Use Creately Atlas to turn CSV data into org charts by mapping employee fields, validating manager references, and reviewing the import changes. Atlas turns an employee list or HRIS export into a visual reporting structure with automatic layout, without manually drawing each reporting line.
This guide focuses on the Atlas CSV import workflow: mapping fields, checking the import preview, and maintaining the resulting org chart. If you are comparing Excel, Google Sheets, and other tools, start with the broader spreadsheet org chart guide. For workbook preparation, use the Atlas Excel tutorial.
For import capabilities and evaluation criteria, explore CSV to org chart.
Why Use Creately Atlas to Turn CSV Data into Org Charts
- Turn a structured employee list into a visual reporting hierarchy.
- Check manager references and import changes before sharing the generated chart.
- Use department views, custom fields, comments, and access permissions to support team reviews.
- Maintain employee records in a shared workspace, with an agreed process for later CSV imports.
What You Need Before Importing Employee Data
Have your CSV file and the reporting structure you expect to see ready. A useful starting file includes:
- Employee ID: A unique identifier for each person. Use consistent IDs so you can distinguish people who share a name.
- Manager reference: The ID or name that identifies the person’s manager. Use one approach consistently and check that each reference matches the intended record.
- Name and job title: Labels that make each person’s card easy to recognize.
- Department: Useful for reviewing teams and creating focused department views.
Start with the fields needed to explain reporting relationships. Add other employee information only when it serves your workflow and you have confirmed who should be able to access it. The org chart field packs guide explains the additional data you can use for HR analysis.
How to Turn CSV Data into Org Charts with Creately Atlas
1. Prepare Your CSV File
Keep one employee record per row and put column headings in the first row. Remove blank records and check for repeated employee IDs, inconsistent names, and manager references that point outside the file.
Here is a fictional example to use when checking your column structure:
Employee ID,Name,Job Title,Department,Manager ID
E001,Alex Morgan,CEO,Leadership,
E002,Sam Patel,Head of Operations,Operations,E001
E003,Jamie Chen,Operations Manager,Operations,E002
E004,Taylor Reed,Operations Coordinator,Operations,E003
The example represents a chain from Alex to Sam to Jamie to Taylor. Alex is the top-level person, so there is no manager value in that row; check the root record in the import preview rather than assigning someone as their own manager.
These headings are example source labels, not a requirement to use these exact words. Atlas suggests mappings for common column names, and you can review or change those mappings before importing.
If you are working in a spreadsheet, export the employee-data sheet as CSV and inspect the exported file. Check that identifiers and names still match the source records. For a broader explanation of spreadsheet-based chart preparation, see how to generate an org chart from a spreadsheet.
2. Open Import from CSV in Atlas
Open your org chart in Creately Atlas and choose Import from CSV from the assistant panel or blank canvas welcome screen. Select the prepared CSV file to begin the import workflow.
You do not need to draw every employee card or connect reporting lines first. The import uses the mapped records to build the hierarchy and applies automatic layout after import.
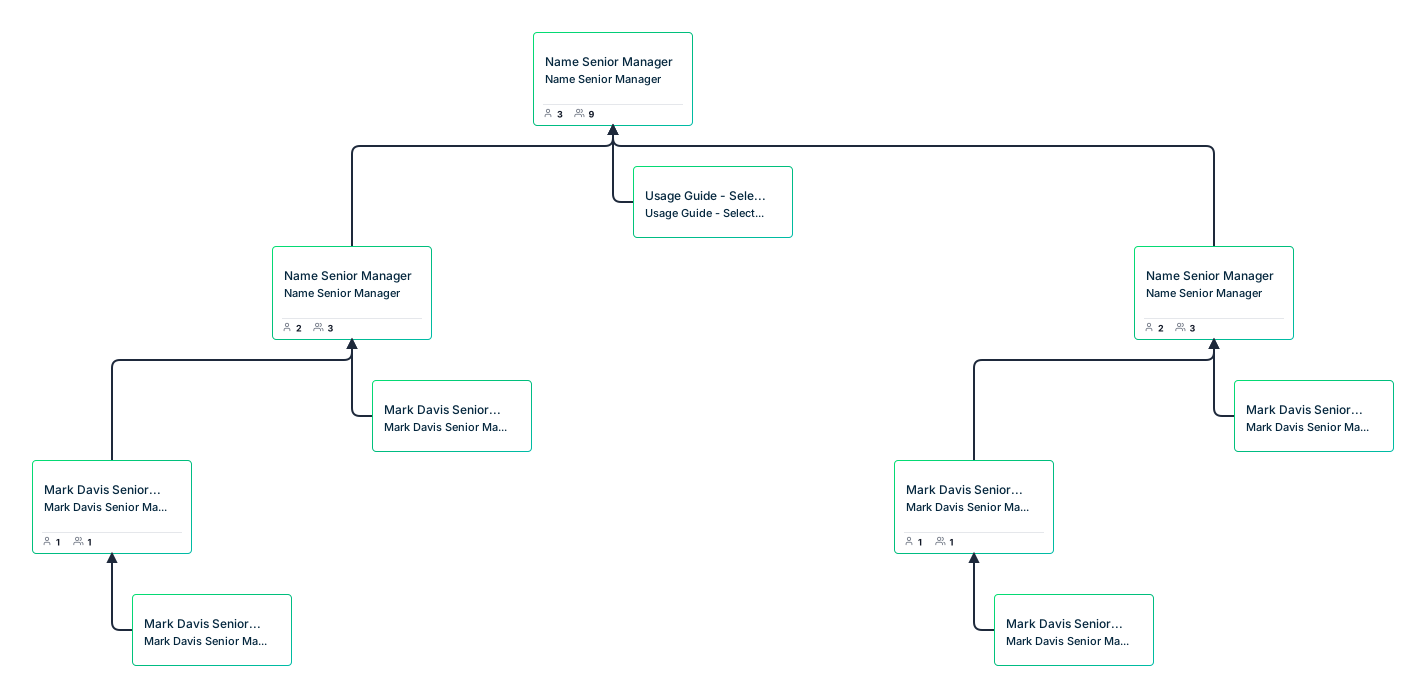
If you want to understand the structure before uploading data, use this editable hierarchical org chart as a visual reference. It is a separate template, not a CSV file or a required step in the Atlas importer.

3. Review the AI-Suggested Column Mappings
Atlas suggests how the CSV columns correspond to org-chart fields. AI suggestions include confidence indicators and an AI badge; common column aliases can also help the importer recognize your data.
Check each mapping against the records you want to create:
- Map Employee ID to the person identifier, not to a display name or job title.
- Map Manager ID to the reporting-line reference so employees connect to the intended manager.
- Check the mappings for Name, Job Title, and Department.
- Review additional columns individually, mapping them to supported fields or including them as custom data where appropriate.
For the example above, Jamie’s manager reference must point to Sam’s ID, E002. A mapping that treats the manager column as ordinary descriptive text will not express the intended hierarchy. Review the suggestions even when the column names look familiar.
4. Resolve Validation Errors and Review the Preview
Atlas checks for problems such as missing IDs, unknown manager references, reporting cycles, and empty rows. Fix the affected source records or mappings before proceeding.
Use these checks when the import reports a problem:
- Missing employee ID: Give the affected person a unique, consistent identifier.
- Unknown manager: Check the spelling or ID against the intended manager’s record and include any missing manager records needed for the structure.
- Reporting cycle: Follow the manager chain and remove the circular relationship; a person should not end up reporting to themselves through another employee.
- Empty row: Remove blank records from the CSV and review the file again.
- Unexpected field values: Check that the source column maps to the correct field and that the values represent what that field expects.
The import preview shows counts for records to be created, updated, or deactivated. Review those counts against the change you intend to make, especially when importing into an existing chart. Investigate unexpected changes before applying the import.
5. Import and Check the Reporting Structure
Complete the import after the mappings, validation results, and preview match your expectations. Atlas lays out the hierarchy automatically, so you can inspect the relationships on the canvas.
Check the chart against the source file before treating it as your current organization:
- Find the top-level person and confirm the first reporting level.
- Follow a known manager’s branch and check each direct report.
- Review names, job titles, and departments on several cards.
- Check that the people you expected are present and that no unexpected changes were applied.
For the sample CSV, confirm that Sam reports to Alex, Jamie reports to Sam, and Taylor reports to Jamie. This small check tests the relationship mapping as well as the visible labels.
If the import is wrong, use Ctrl+Z on Windows or Cmd+Z on Mac to undo it as a single operation. Correct the file or mappings before importing again. For an isolated name or title correction, double-click the person card to edit it inline.
For larger charts, collapse branches or focus on a department while reviewing. Atlas can also generate department views after import. See org chart best practices for advice on keeping the resulting chart readable.
6. Share the Chart and Maintain the Records
Share the chart with the people who need to review it, choosing viewer or editor permissions for their role in the work. Field-level sensitivity controls still apply to shared links; permission to edit a chart does not automatically grant access to restricted employee information.
Export a chart as PNG, SVG, or PDF when you need a visual for a document or presentation, or export org data as CSV for further analysis.
A CSV import is not a live connection to the source spreadsheet or HRIS. Agree who maintains the Atlas records and how future changes will be reviewed. Before a later import, check the source data, mappings, and preview again rather than assuming the previous settings will produce the intended result.
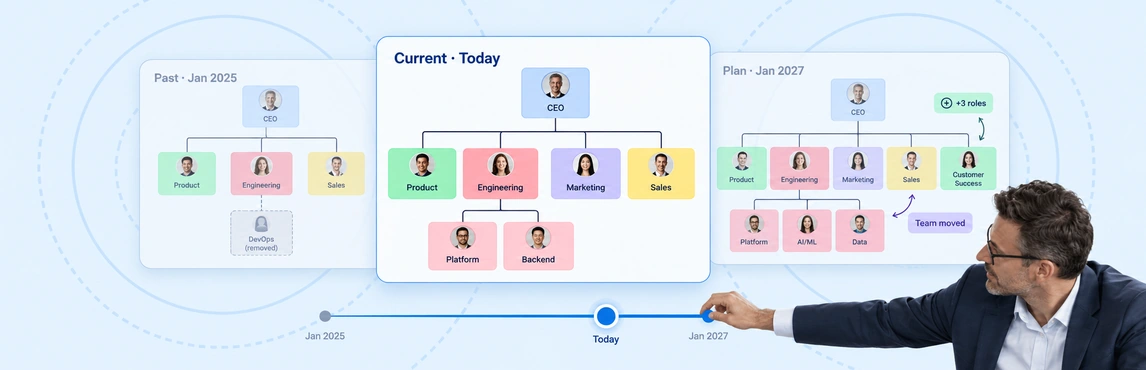
When you need to evaluate a proposed restructure, use org chart scenario planning to review changes before applying them to the live organization.
Org Chart Templates for Planning and Presenting Your Structure
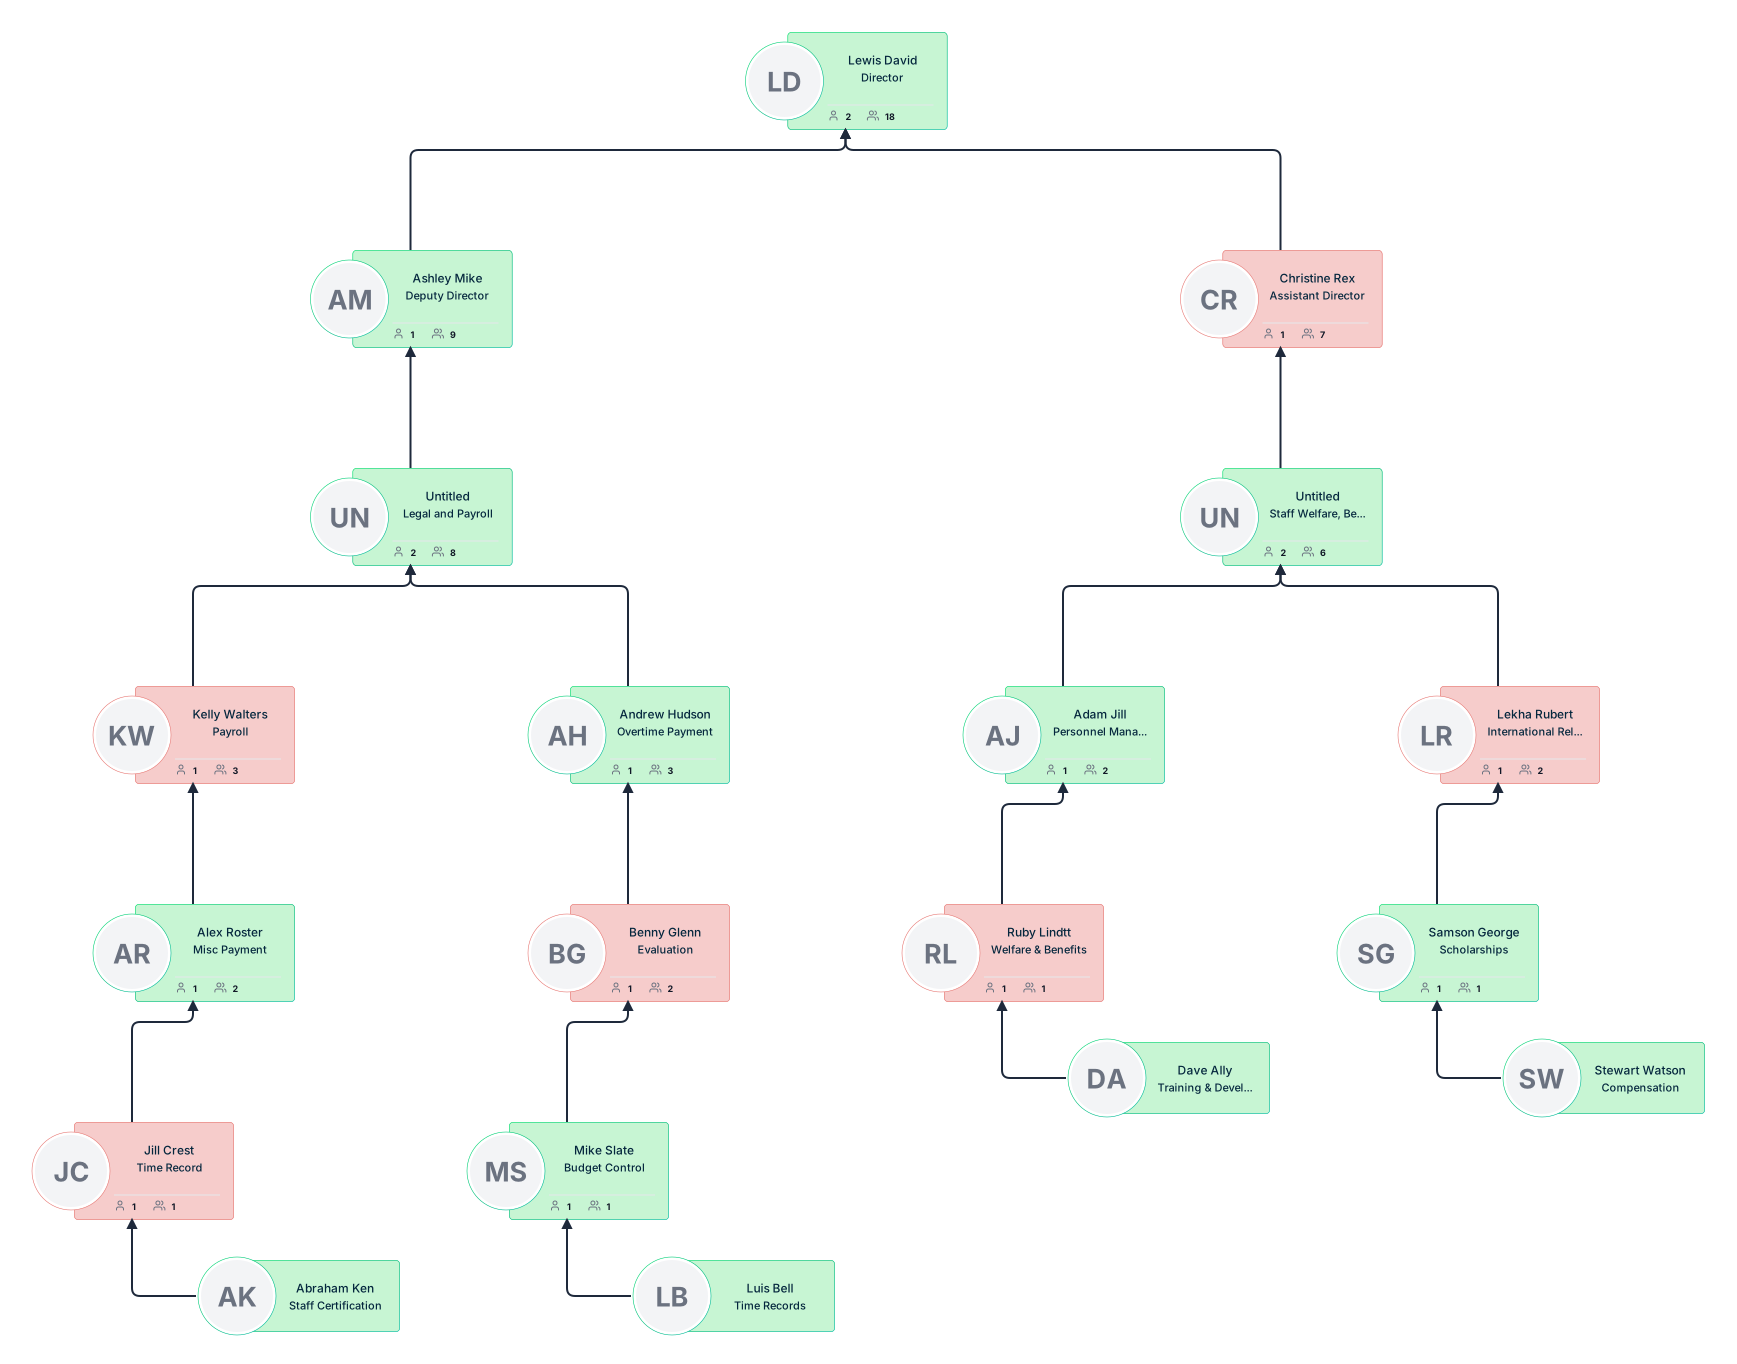
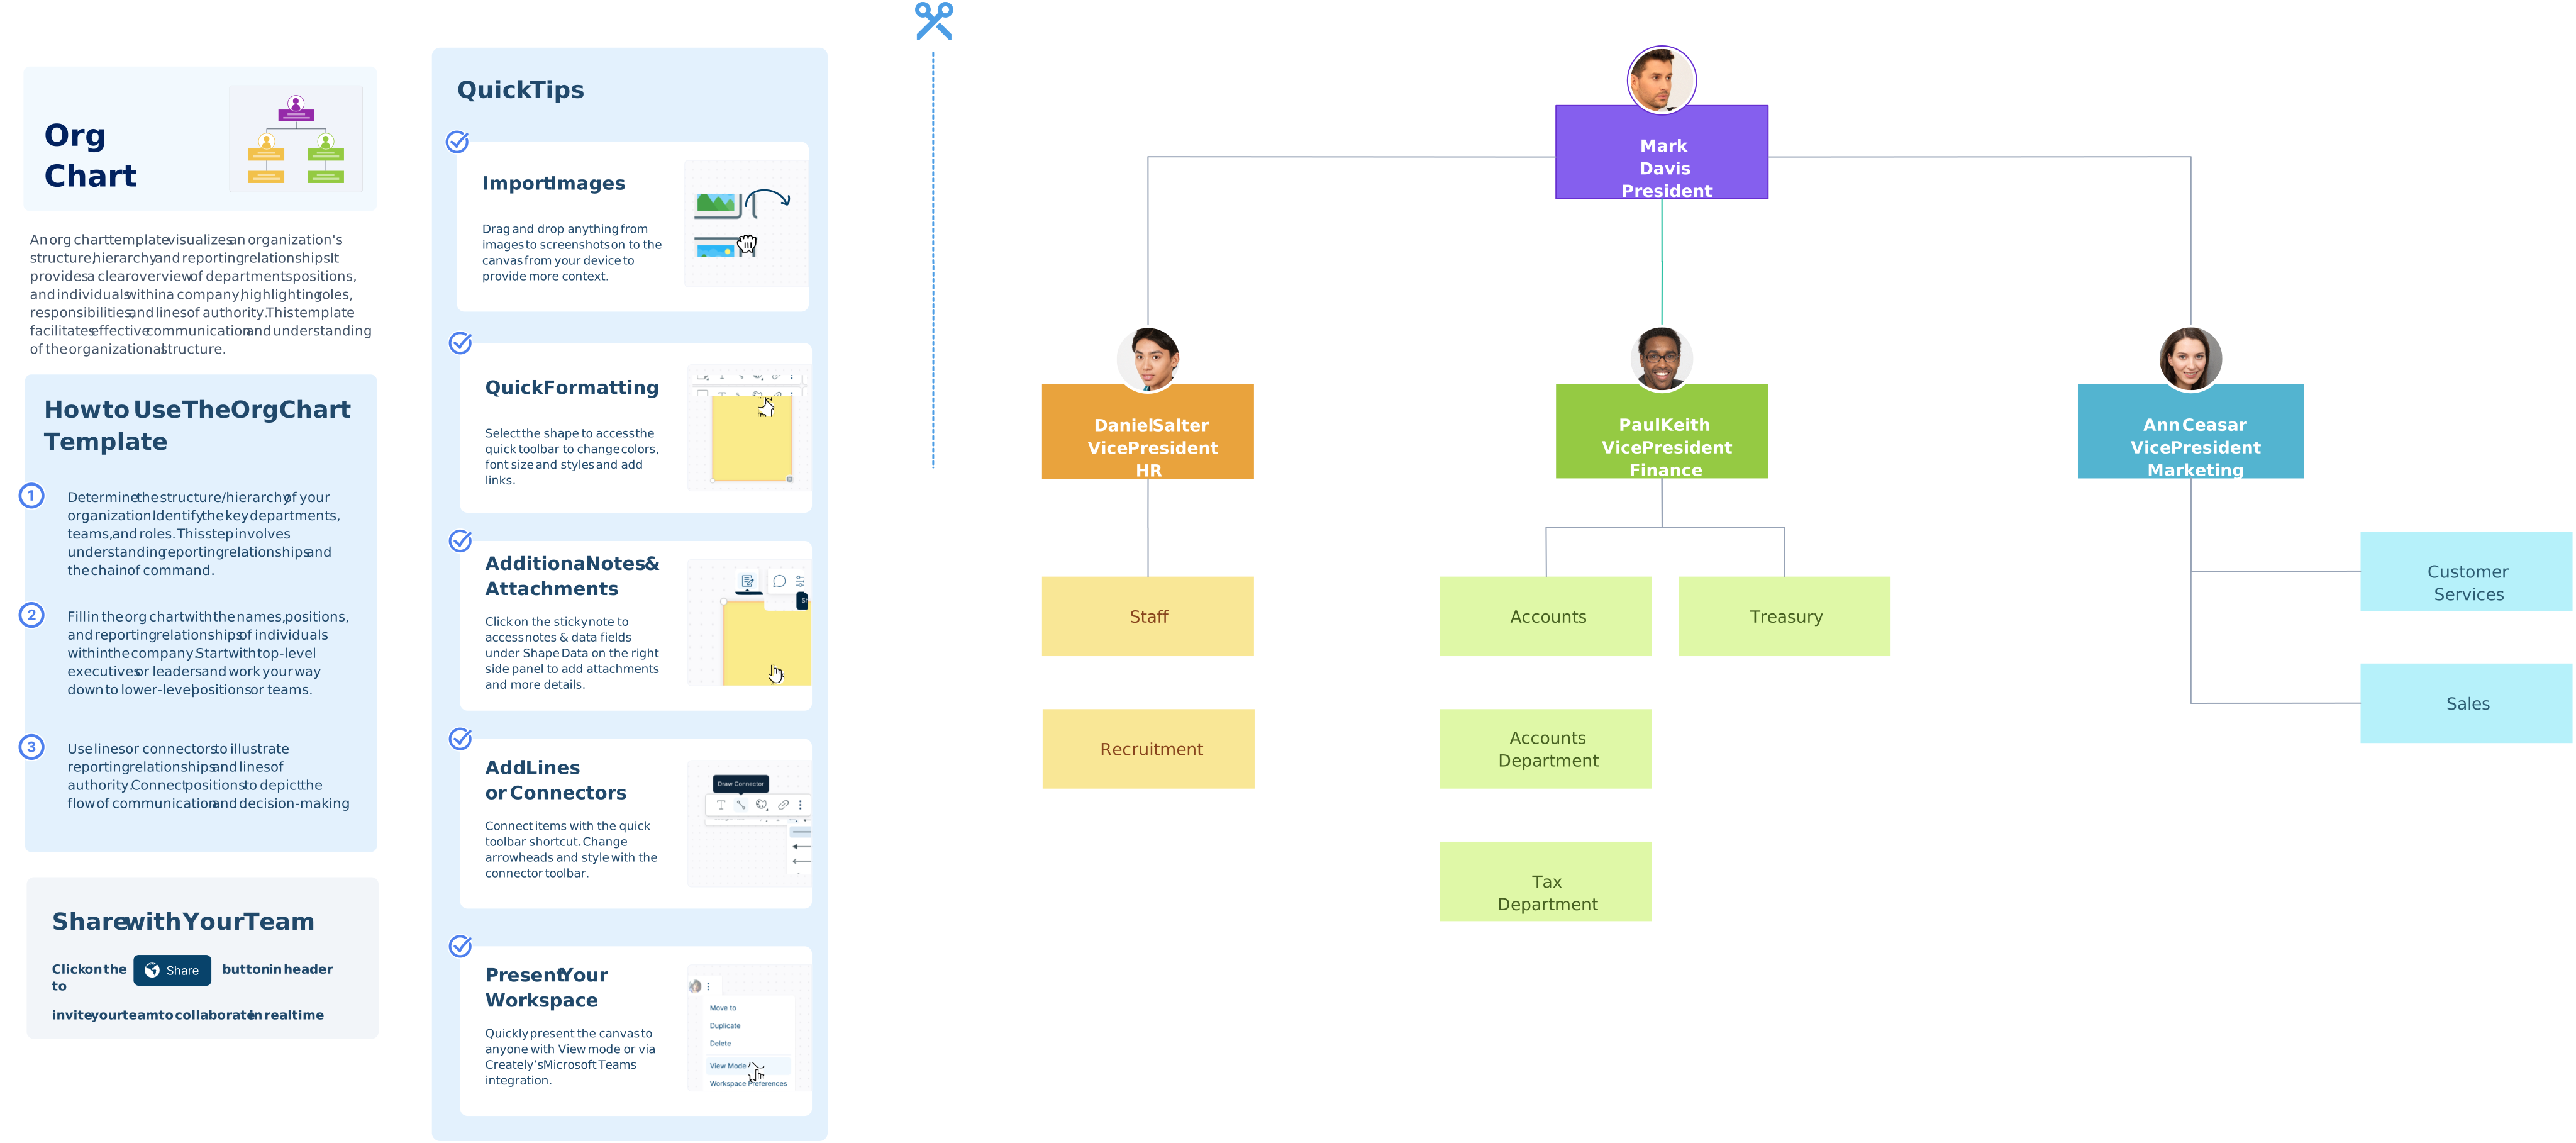
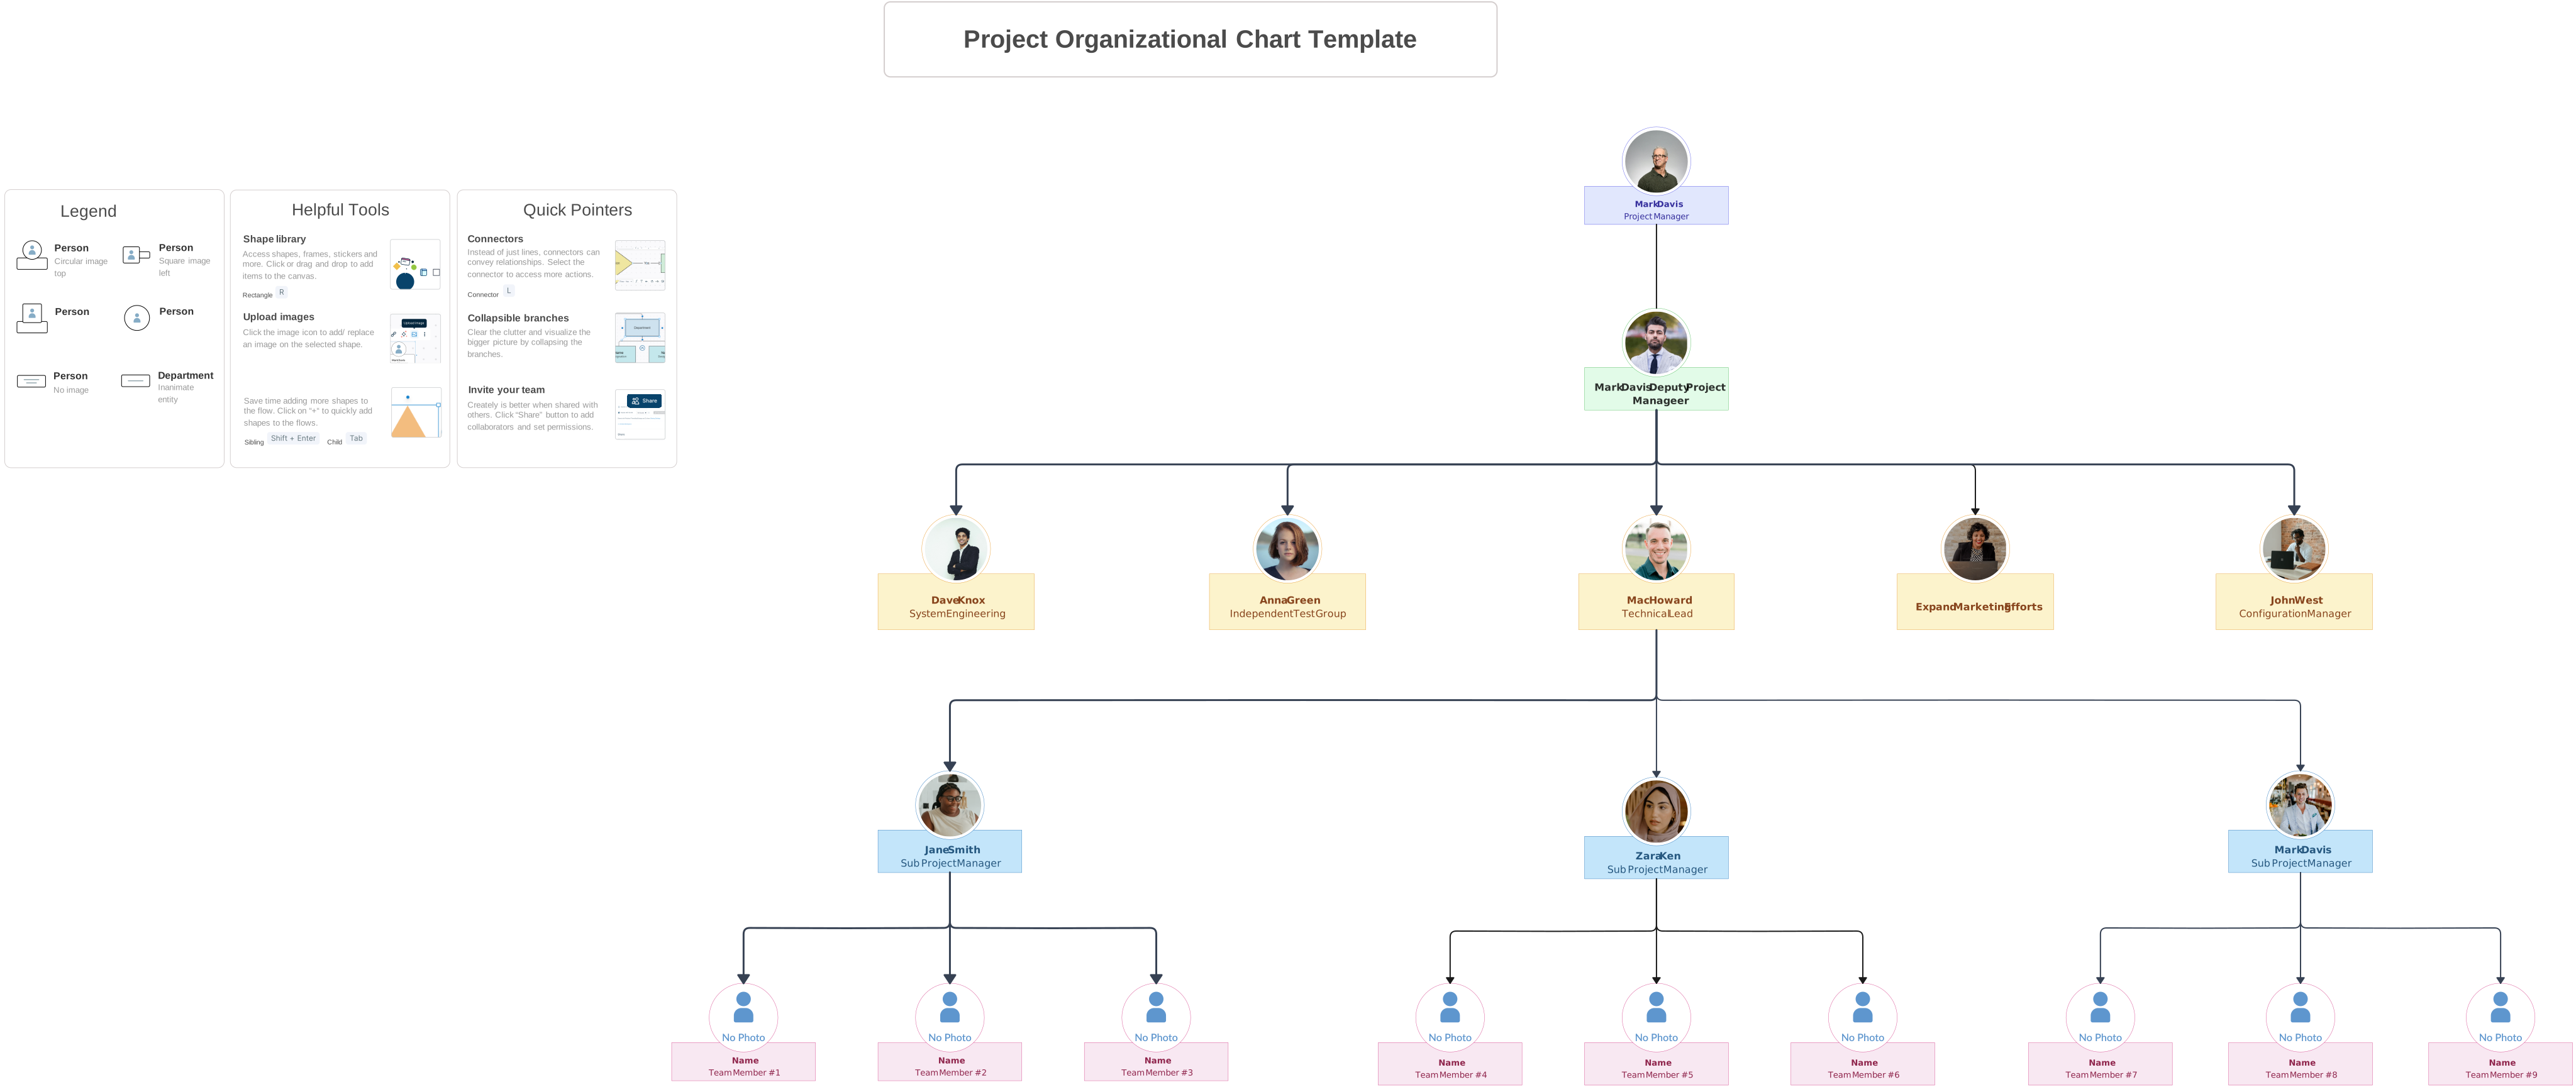
Use these editable templates to present an HR team, show employee photos, plan a project team, or start with an org chart that includes usage instructions. They are visual starting points, separate from the CSV import workflow and its field mappings.


Helpful Org Chart Resources
Plan reporting relationships and choose a structure before building your chart.
Compare hierarchical, matrix, and other structures for presenting your organization.
Use your reviewed org structure to support headcount and staffing discussions.